Yarn Painting Tutorial – Darn Good Yarn
Written by Kate Curry I'm so excited to yarn-paint with you! This craft is something that can be very simple or be super detailed- it's up to you! All you'll need is some yarn, glue, scissors, and a canvas. Yarn painting is exactly what it sounds like; using yarn on a canvas to create a 'painting'. While researching
Unique organic women's clothing and quality yarn, craft supplies, and home goods. Ethically sourced and made with recycled
Written by Kate Curry
I'm so excited to yarn-paint with you! This craft is something that can be very simple or be super detailed- it's up to you! All you'll need is some yarn, glue, scissors, and a canvas.
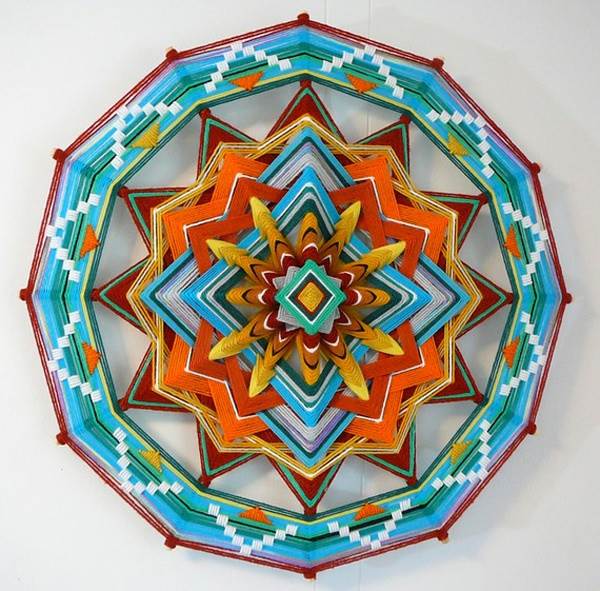
Yarn painting is exactly what it sounds like; using yarn on a canvas to create a 'painting'. While researching this project, I've found that many historians agree that the origins of yarn painting can be traced back to the Huichol people, one of the native tribes of Mexico. Check out some of their art online, it's stunning!
For our version of yarn painting, you'll need:
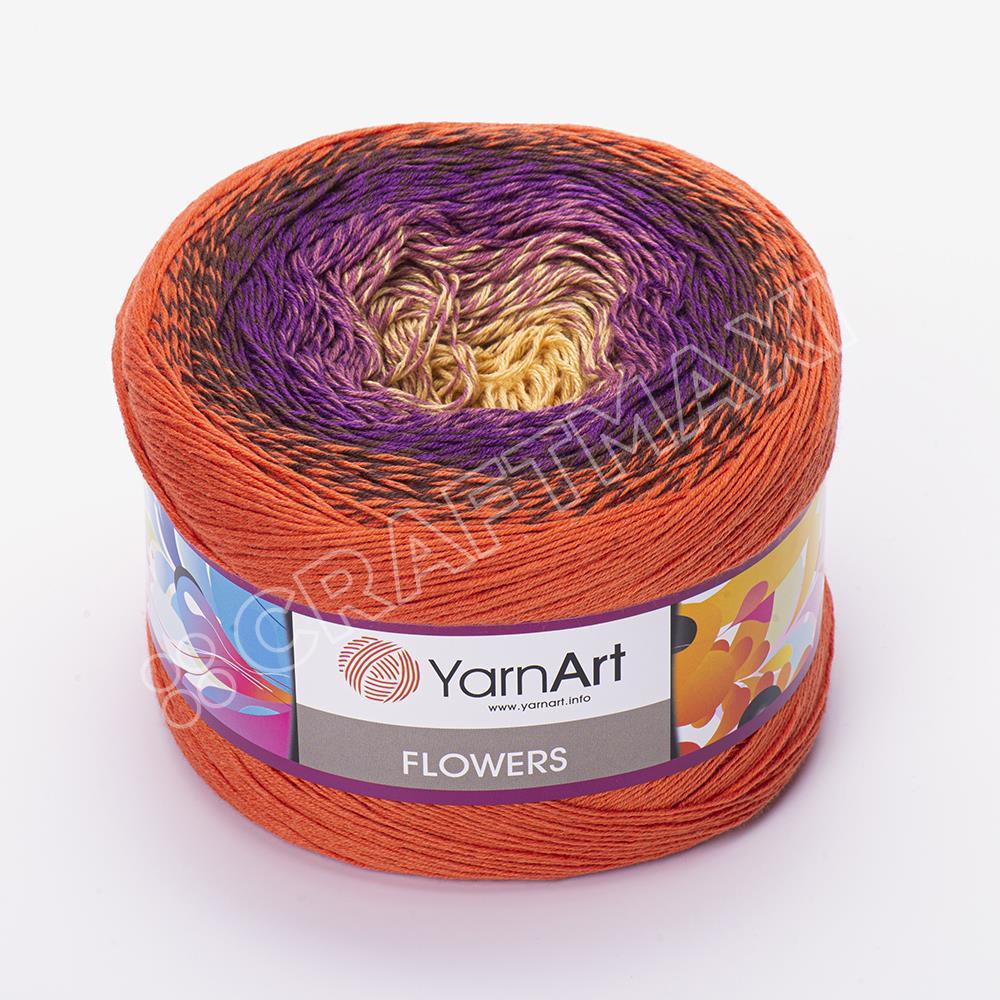
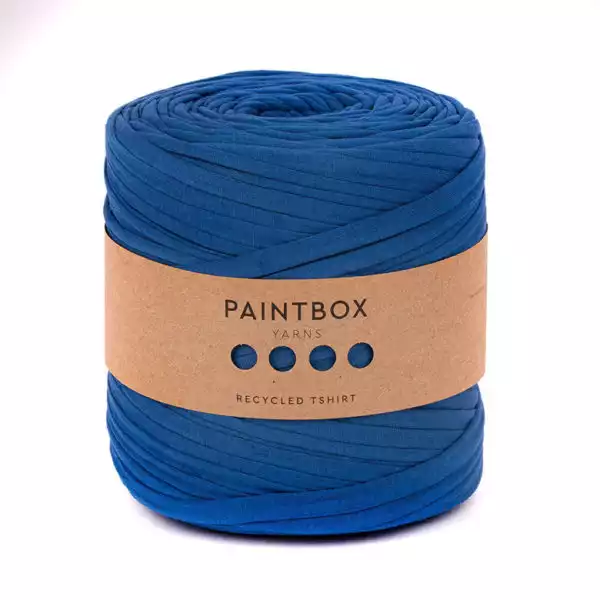
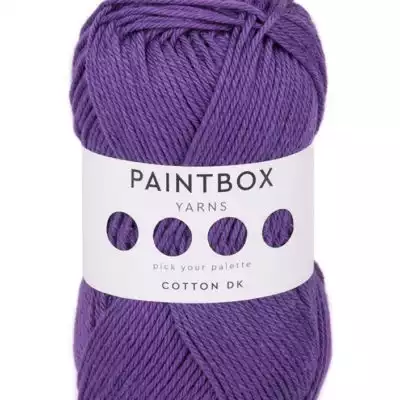
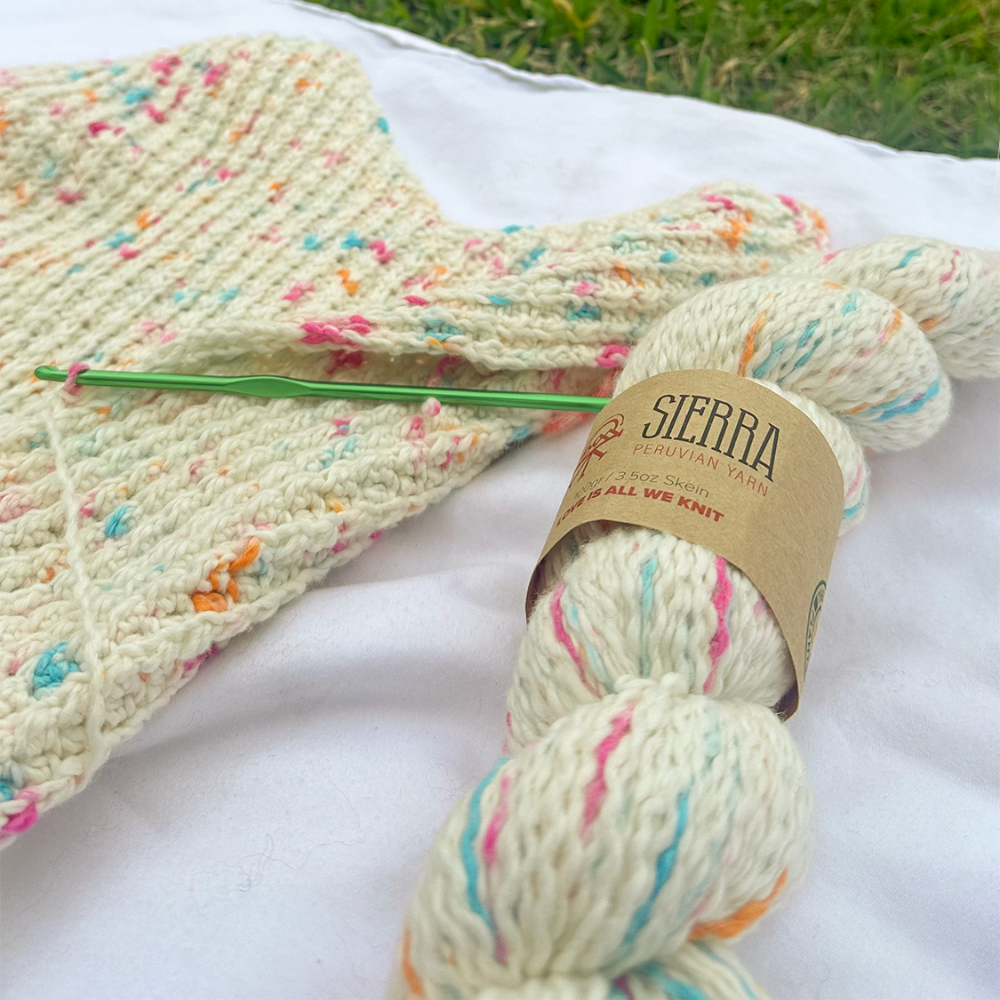
Yarn (I'll be using lace weight yarn)
Scissors (Make 'em sharp!)
Glue (I use a glue pen, but you can use any kind of water-based glue)
Some kind of canvas or backing. (I'm using canvas board, but any kind of thick paper or cardboard would work great!)
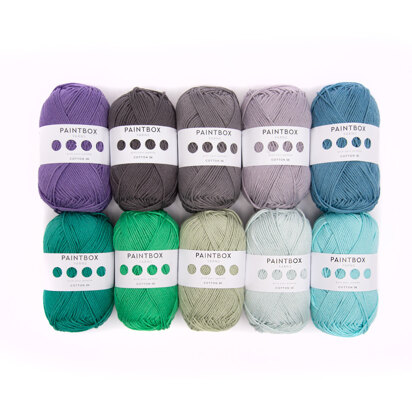
Perfect Yarn Paiting Yarns!
Step 1:
Come up with a design!
If you're new to yarn painting, I'd suggest something simple just to get a feel for it! I've make a few fun and simple samples for you to print out and use:
Download Samples
Step 2:
Using a pencil, trace out your design on your canvas. Trust me, this will be so helpful when you're covered in glue and yarn! The lines will help keep you on track and focused on the placement of the yarn!
Step 3:
Prep your yarn! Cut a few different sizes and colored strings of yarn for you to use. You don't want to be cutting yarn while there's glue waiting on your canvas, it might dry before you can cut the yarn!
Step 4:
Using your glue, spread a thin layer over the area you'd like to place your yarn. Start off in a small area until you get a good handle on your speed in relation to how fast your glue dries!
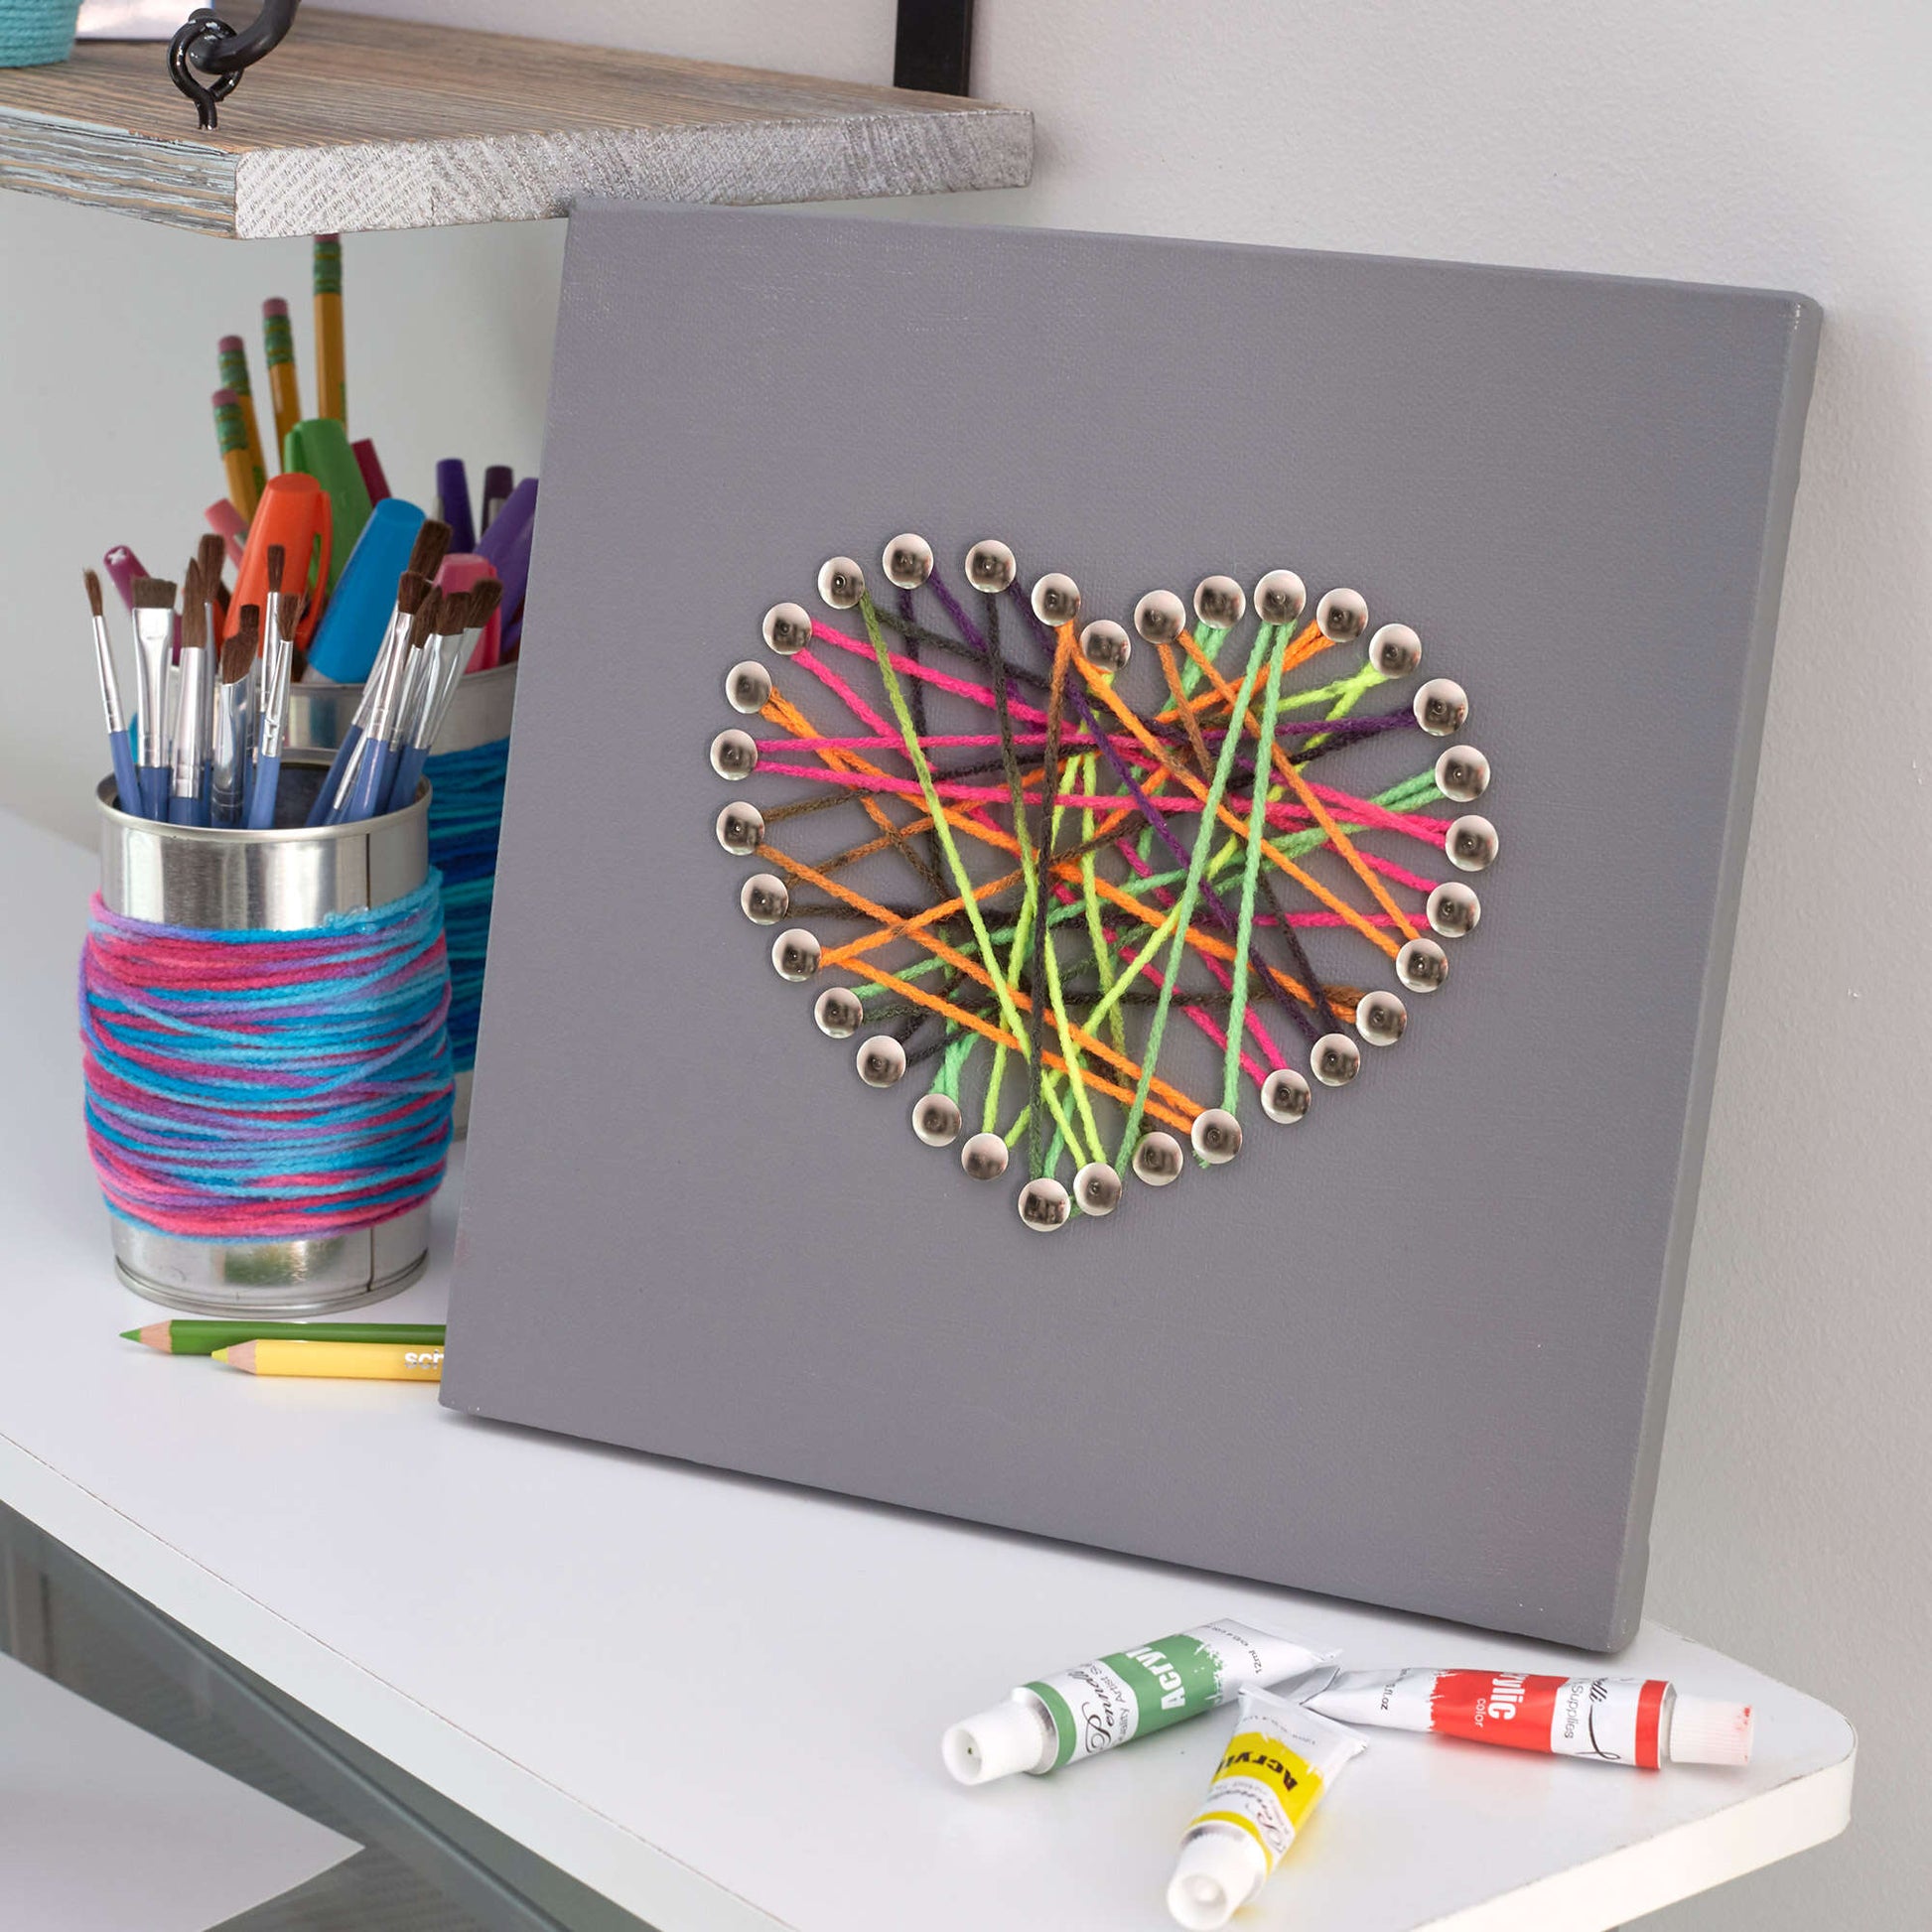
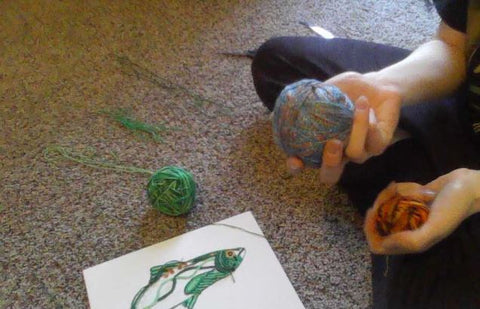
Step 5:
Place your yarn on the glued area of the canvas. You can use your finger or a paintbrush to push your yarn through the glue and into the right position that you'd like!
Step 6:
Once the yarn is placed properly, press down on it firmly. This helps set the yarn in place. Once the yarn is fully dry, you can take your scissors and snip off any access glue.
I can't wait to see what you make!
Happy crafting - Kate
Meet the Author
Kate has been on the Darn Good Yarn team since 2018. They have their degree in Creative Art Therapy & Psychology - and like crafting and animals a little too much.

La Bien Aimee Merino DK Fades - Celestial Dragon Fade at Jimmy Beans Wool

Mad Tosh Twist Light Barker Wool Assigned Pooling – Yarn Store Boutique
Types of Yarn For Crochet: An In-Depth Guide - CrochetKim™

Darn Good Tutorials – Darn Good Yarn

sisterMAG45 - Sans Titre - EN by sisterMAG - Issuu

Yarn Painting : 5 Steps (with Pictures) - Instructables
The Best Yarn for Crochet: 15 Beautiful and Practical Options - CrochetKim™
Darn Good Tutorials – Darn Good Yarn
Made from recycled silk, this Journey Weight Silk Yarn is handspun & hand dyed by women's co-ops in India. This buttery soft silk yarn is just the

Darn Good Yarn Journey Recycled 1.7oz Fine Silk Yarn
Cotton Yarn, Knitting & Crochet
Sheep Cushion Substitute Yarns - Amanda Berry

Watermelon Amigurumi Knit & Crochet Kit
Yarn Painting Tutorial – Darn Good Yarn
Darn Good Tutorials – Darn Good Yarn
Embrace Artistic Beauty with ROXANNE Hand Paint - DK Yarn