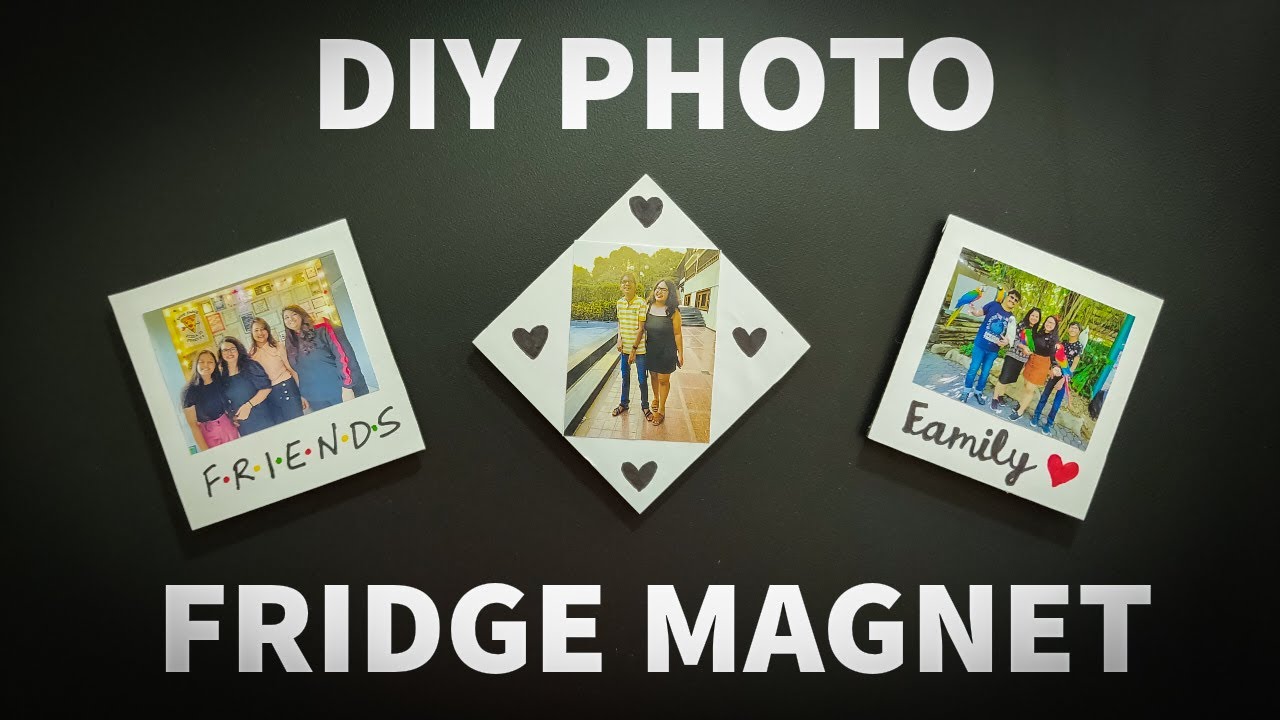
DIY: Photo Fridge Magnets – Kodak Digitizing
If you have recently sent your print photos to Kodak for digitizing, you might be wondering what you should do with all the originals now that you’ve gotten them preserved digitally. Some customers choose to throw their originals away, but in many cases, individuals find it hard to part from their beloved print photographs. Luckily, there are so many wonderful
From the brand that invented film, trust KODAK® to convert your home movies, photos and film to digital. Fill your box with any brand of analog media, we'll return digitized and ready to relive. Hand digitized by experts.
If you have recently sent your print photos to Kodak for digitizing, you might be wondering what you should do with all the originals now that you’ve gotten them preserved digitally. Some customers choose to throw their originals away, but in many cases, individuals find it hard to part from their beloved print photographs.
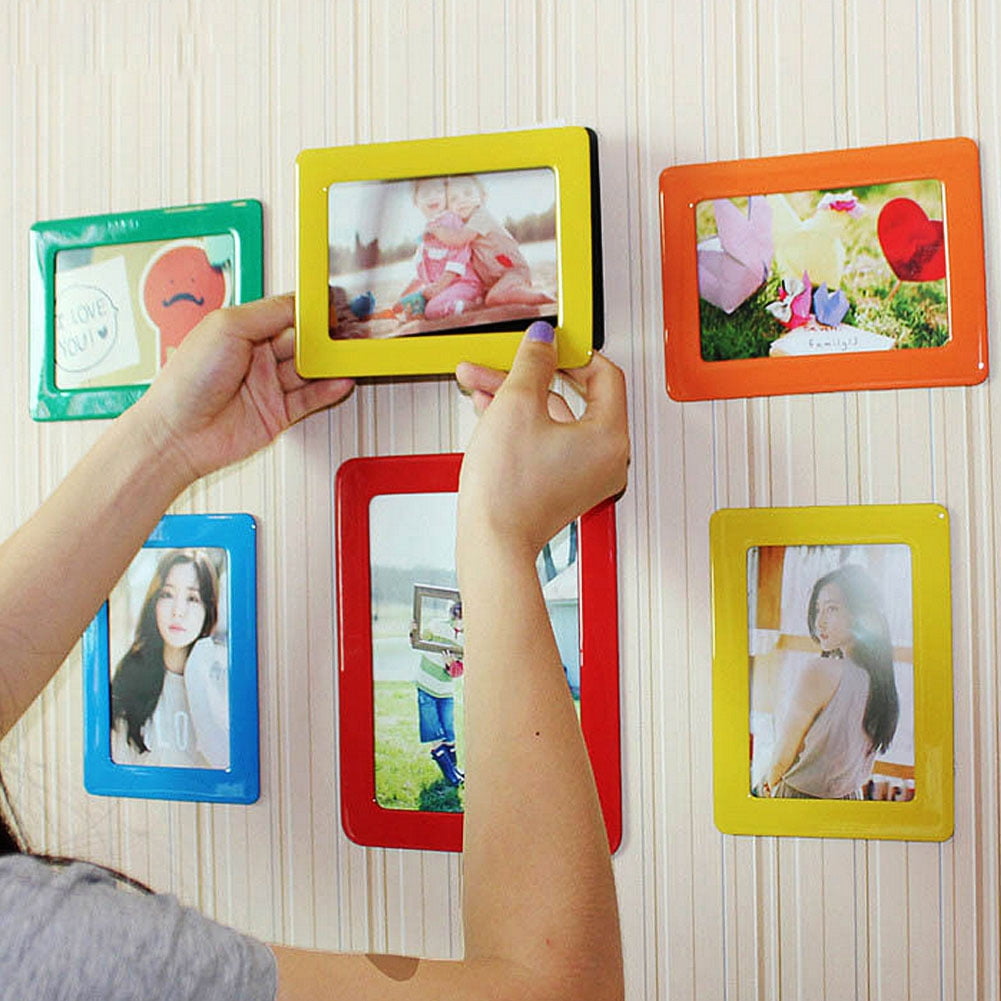
Luckily, there are so many wonderful DIY projects that utilize print photos, allowing them to be displayed in new, creative ways. One of our favorites is this photo fridge magnet DIY!
Here’s what you’ll need:
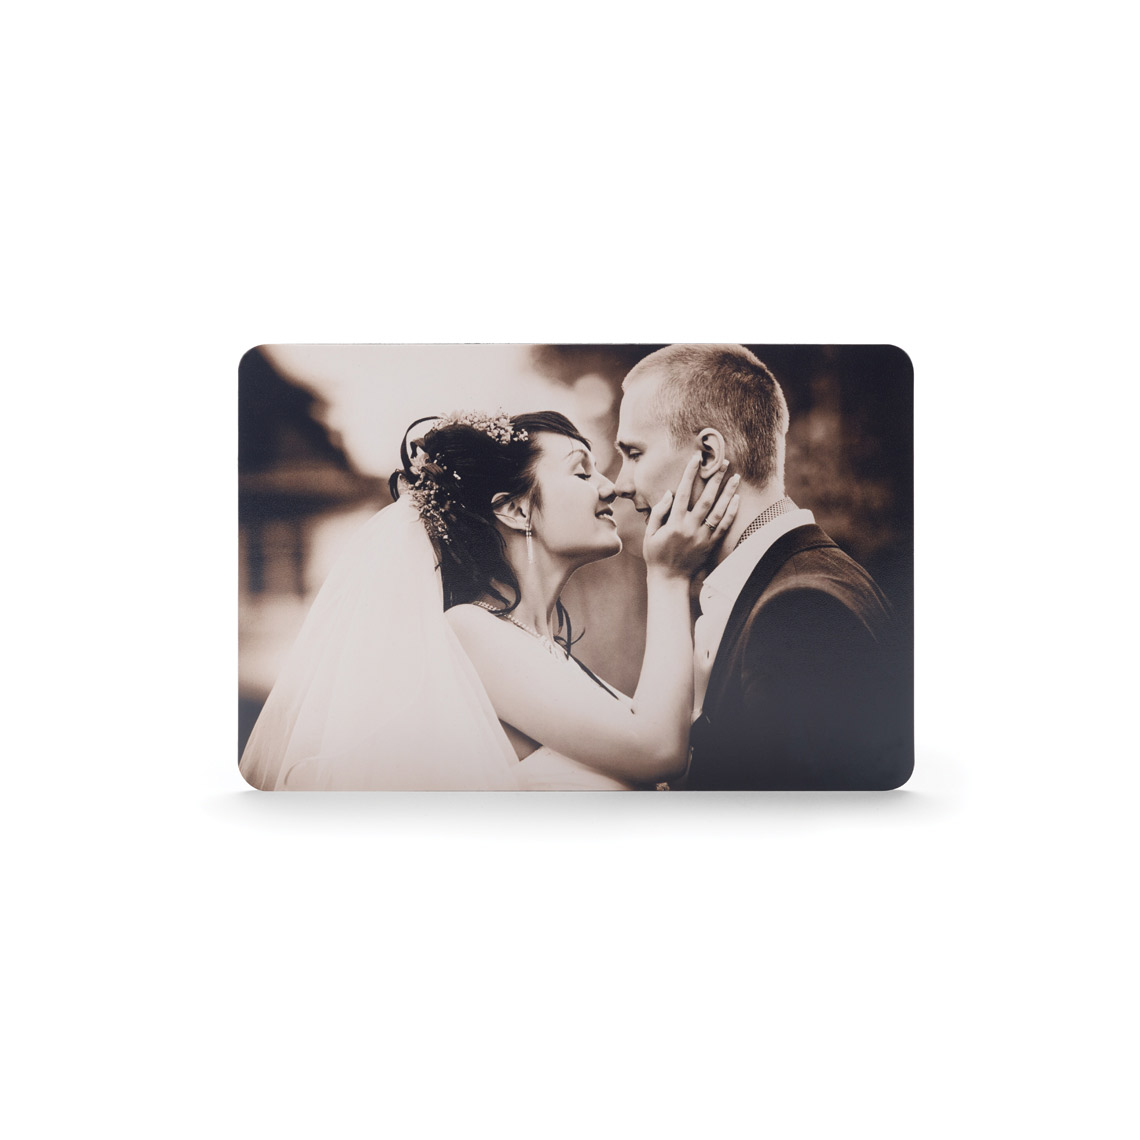
Photos of your choosing
Honeycomb tile pieces (you can find these at most home improvement stores)
1 piece of paper
Mod podge
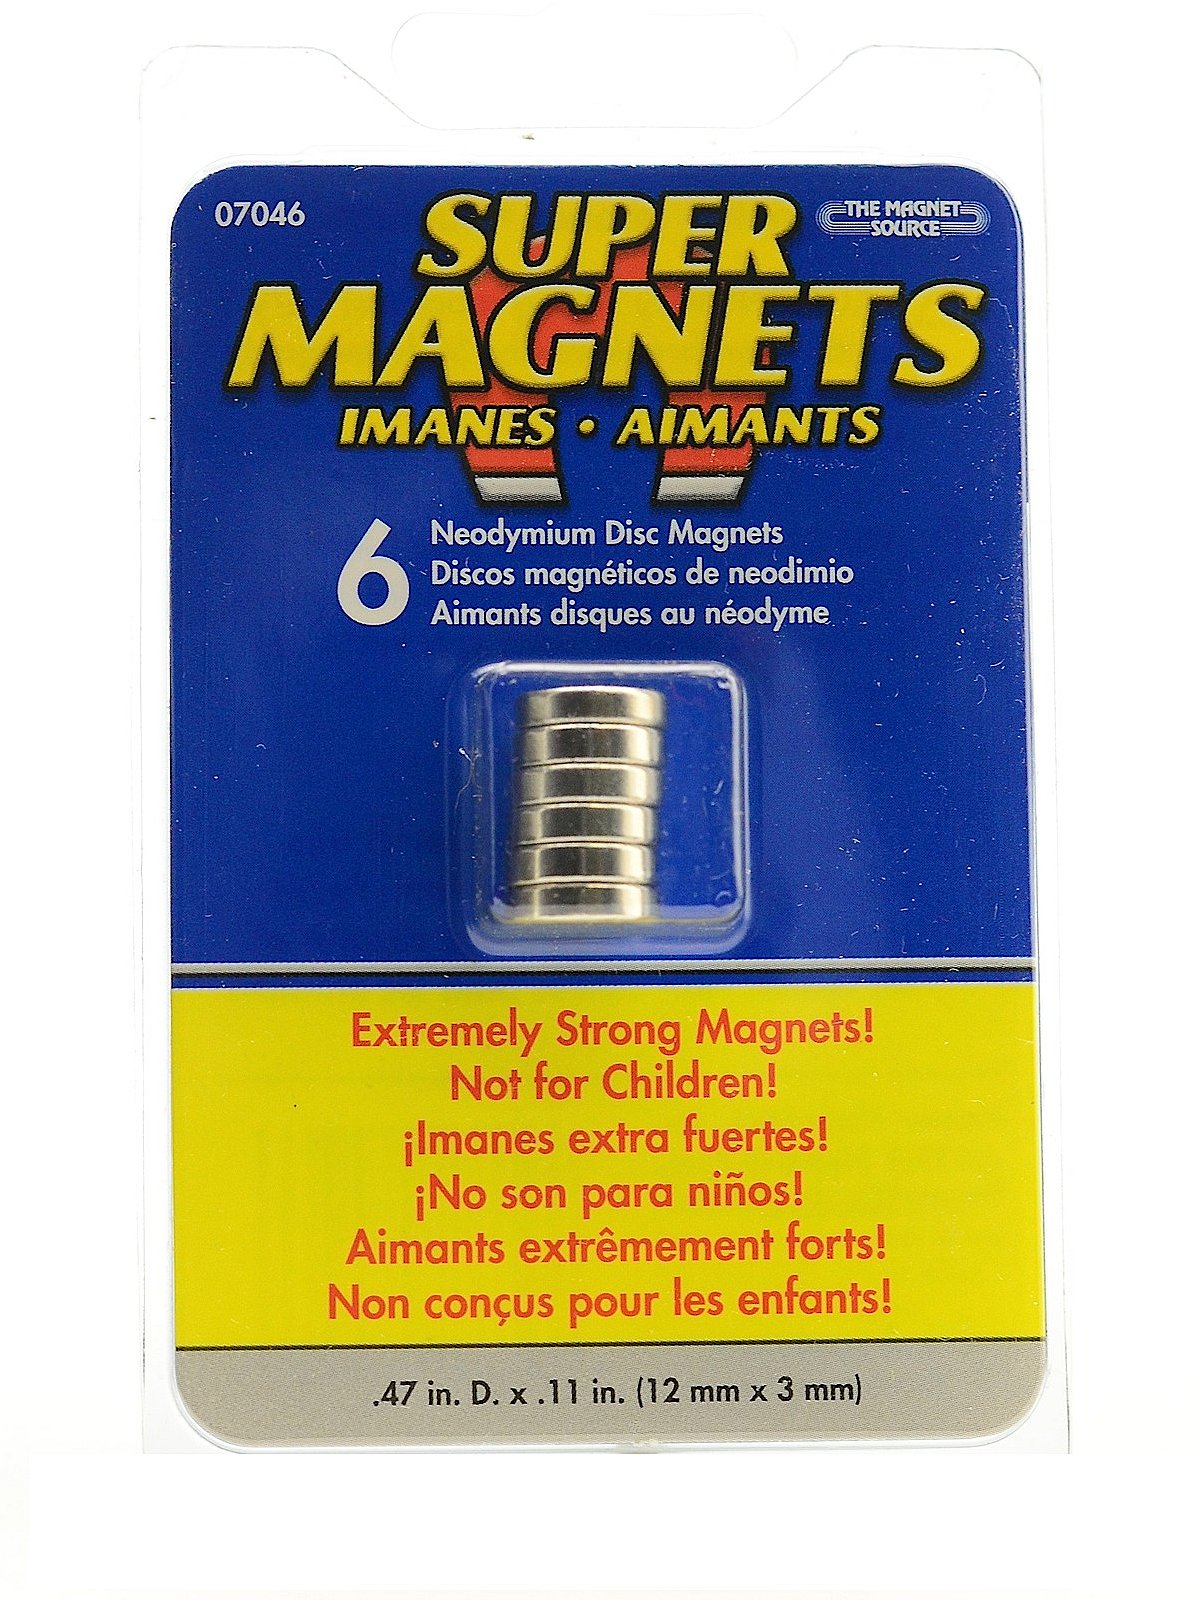
Magnet strip
Scissors
Superglue or hot glue
Step one
Cut small pieces of magnet off from the magnet strip. Using superglue or hot glue, attach the magnets to the backs of the honeycomb tiles.
Step two
Trace one honeycomb tile on your sheet of paper. Cut out the shape - now you can use this as a frame to choose which parts of your photos will become magnets!
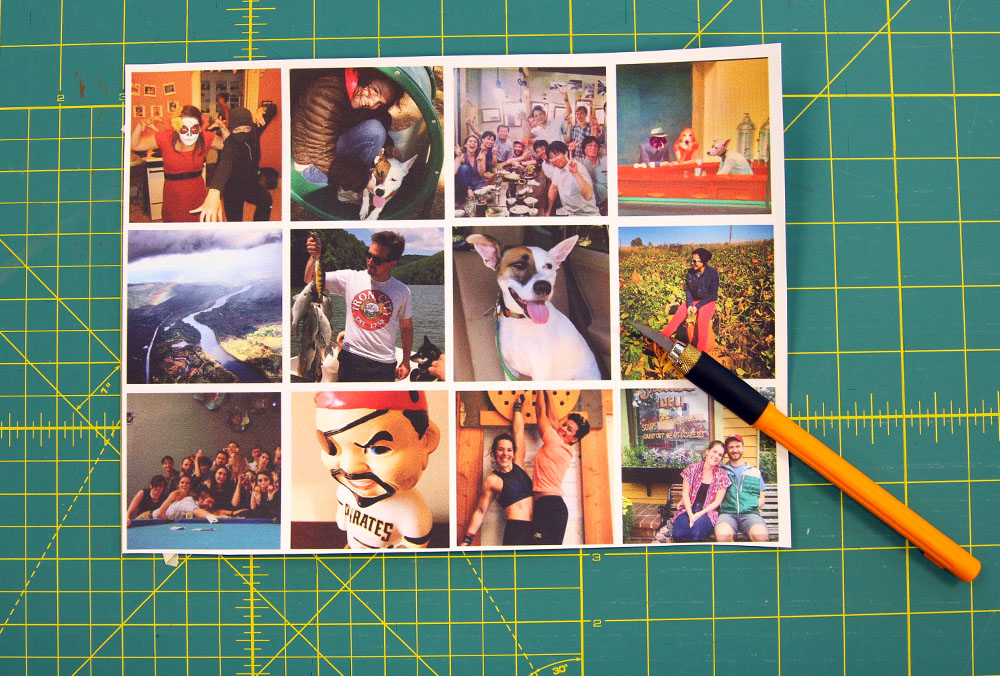
Step three
Using the frame you made, trace the honeycomb shape on your photos in the desired locations. Cut the photo along the lines you drew.
Step four
Paint a small amount of mod podge on the back of your honeycomb cut-out photos and press the photos onto the honeycomb tile pieces. Let these dry for at least a few hours.
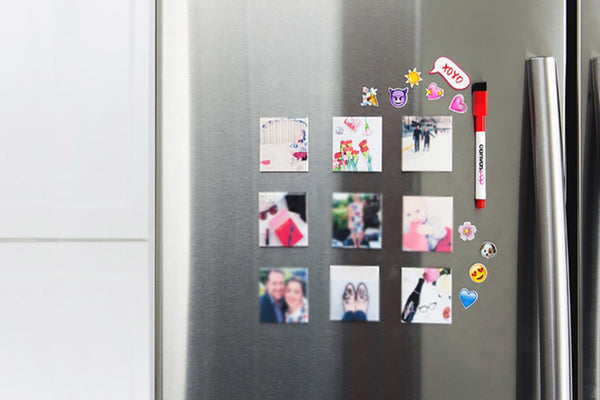
Step five
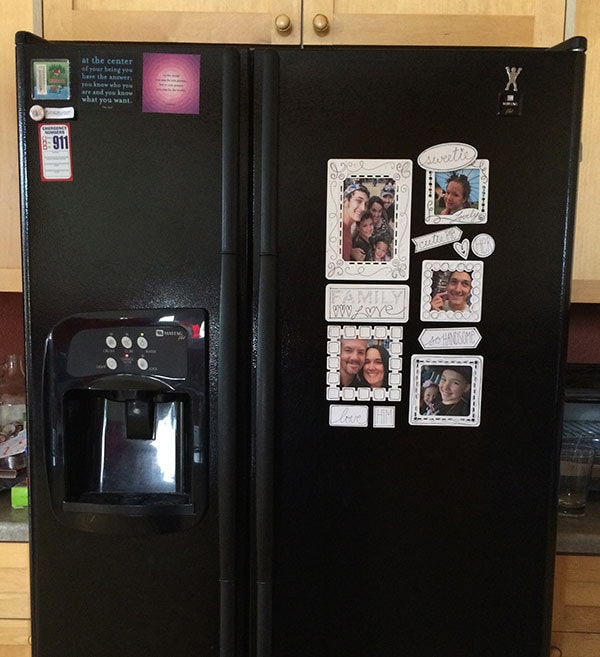
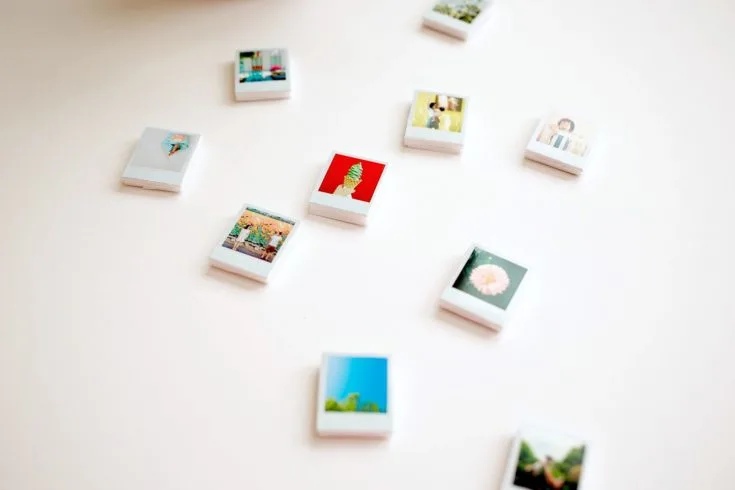
Arrange your new magnets all over your fridge in style!
It’s so easy to make beautiful crafts from your original photos. Now that you have them digitized, you can use the originals in all sorts of unique and fun ways! Get to crafting!

How To Make Fridge Magnets

Customized Picture Magnet Rectangle Personalized Photo Fridge Magnets Add Your Image Text Logo, Kitchen Office Whiteboard Locker Refrigerator Magnets Travel Gift Souvenir Home Decoration : Home & Kitchen

Dollar Tree DIY Home Decor Refrigerator Magnet Frames

DIY, How To Make Custom Die Cut Magnets From Any Picture
How To Make 36 Photo Magnets from 1 Wallpaper Swatch

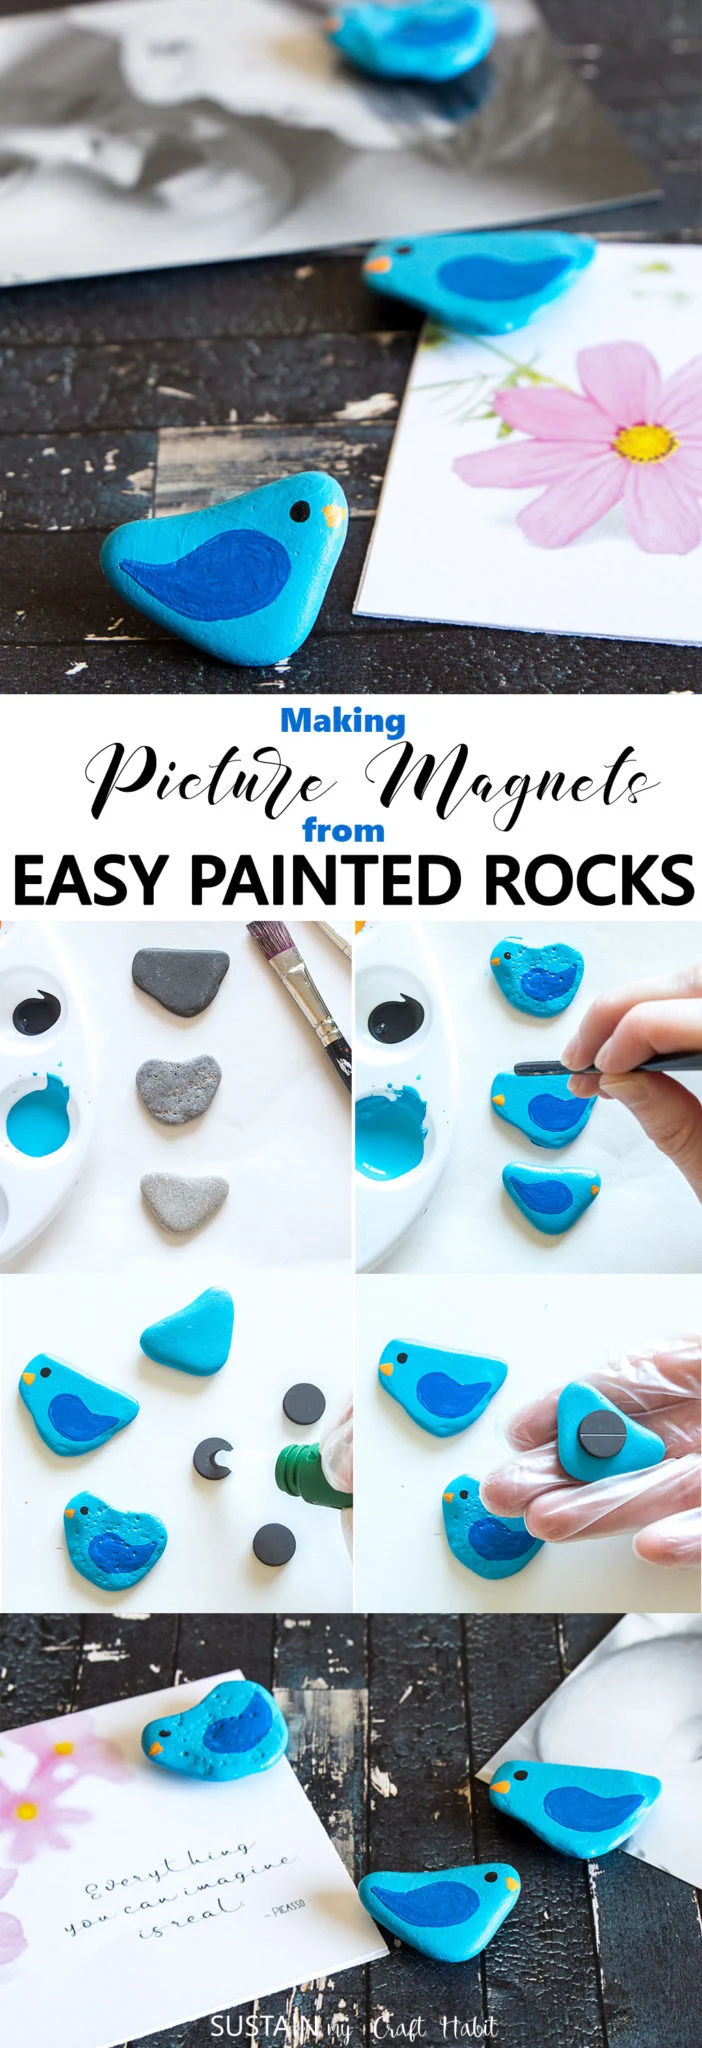
Make your own photo magnets
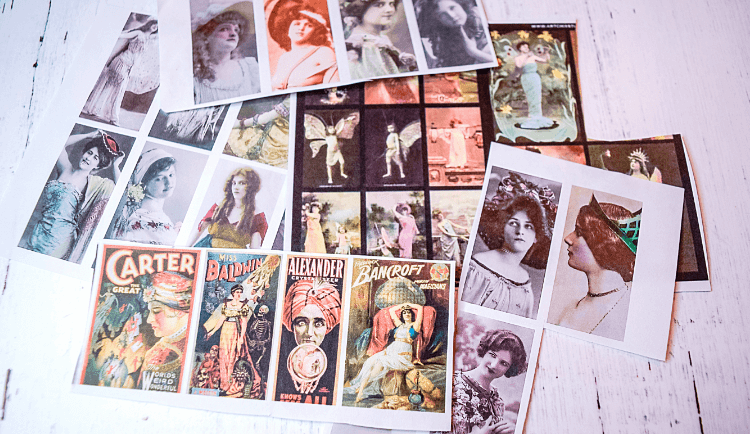
How to make Vintage Photo DIY Magnets

DIY photo fridge magnet with old bangles, Easy Fridge Magnets making at home

Custom Photo Magnets Personalized Fridge Magnets for Memories
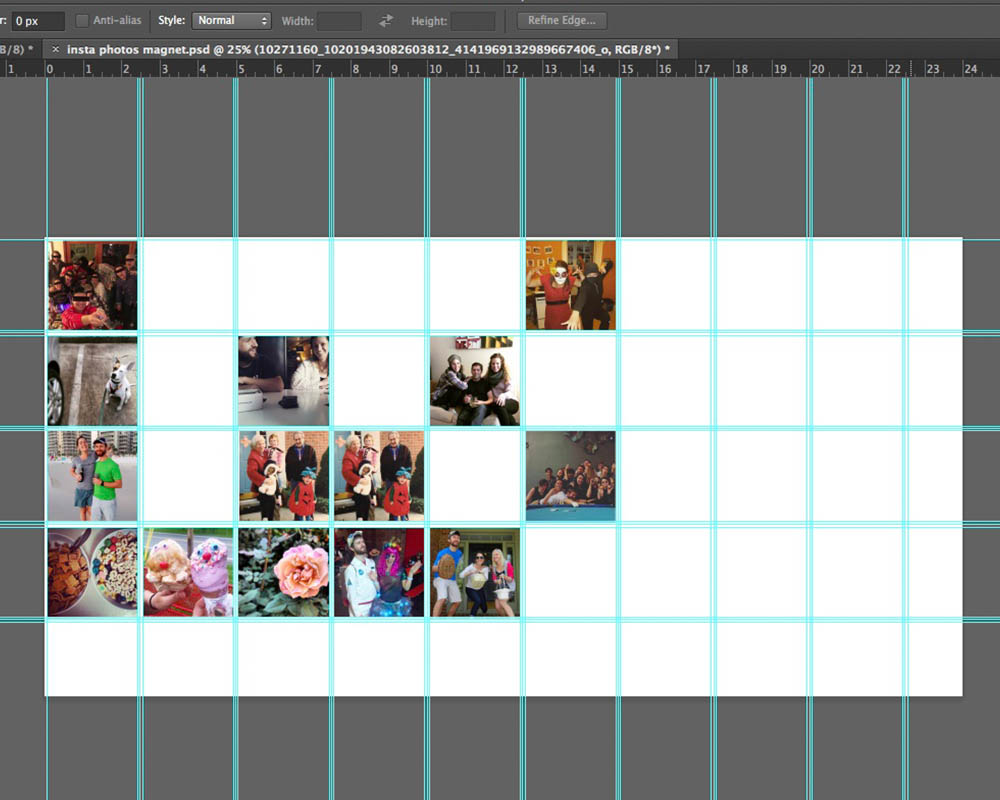
How To Make 36 Photo Magnets from 1 Wallpaper Swatch
How to make Fridge Magnets at home, Photo Fridge Magnet
DIY Fridge Photo Frames - 100 Directions
Magnets Photos
50 DIY Fridge Magnets to Enhance Your Decor and Gift Game - Mod Podge Rocks

Make your own photo magnets