Easy & (Almost) Free Knitting Ring Loom
Here's a tutorial for a very easy, inexpensive knitting ring that is great for kids. I made these for my students to use during rainy day recess and they've been a massive hit. On any given day, I have 5-10 kids in my class knitting. This would also be a great project for Girl Scout, Boy Scout, 4H, or any such serv
Here's a tutorial for a very easy, inexpensive knitting ring that is great for kids. I made these for my students to use during rainy day recess and they've been a massive hit. On any given day, I have 5-10 kids in my class knitting. This would also be a great project for Girl Scout, Boy Scout, 4H, or any such service club.
Supplies
Heavy duty cardboard cylinders of some sort--I use the 3 core rings that come with my soap labels, but duct tape or packing tape rolls, Trader Joe's coffee canisters, or any sturdy cylinder would do the trick.
Craft (Popsicle) sticks
Hot Glue Gun
Hot Glue Sticks or Glue Gun Sealing Wax
Craft Glue
Duct Tape
Red and Green Markers
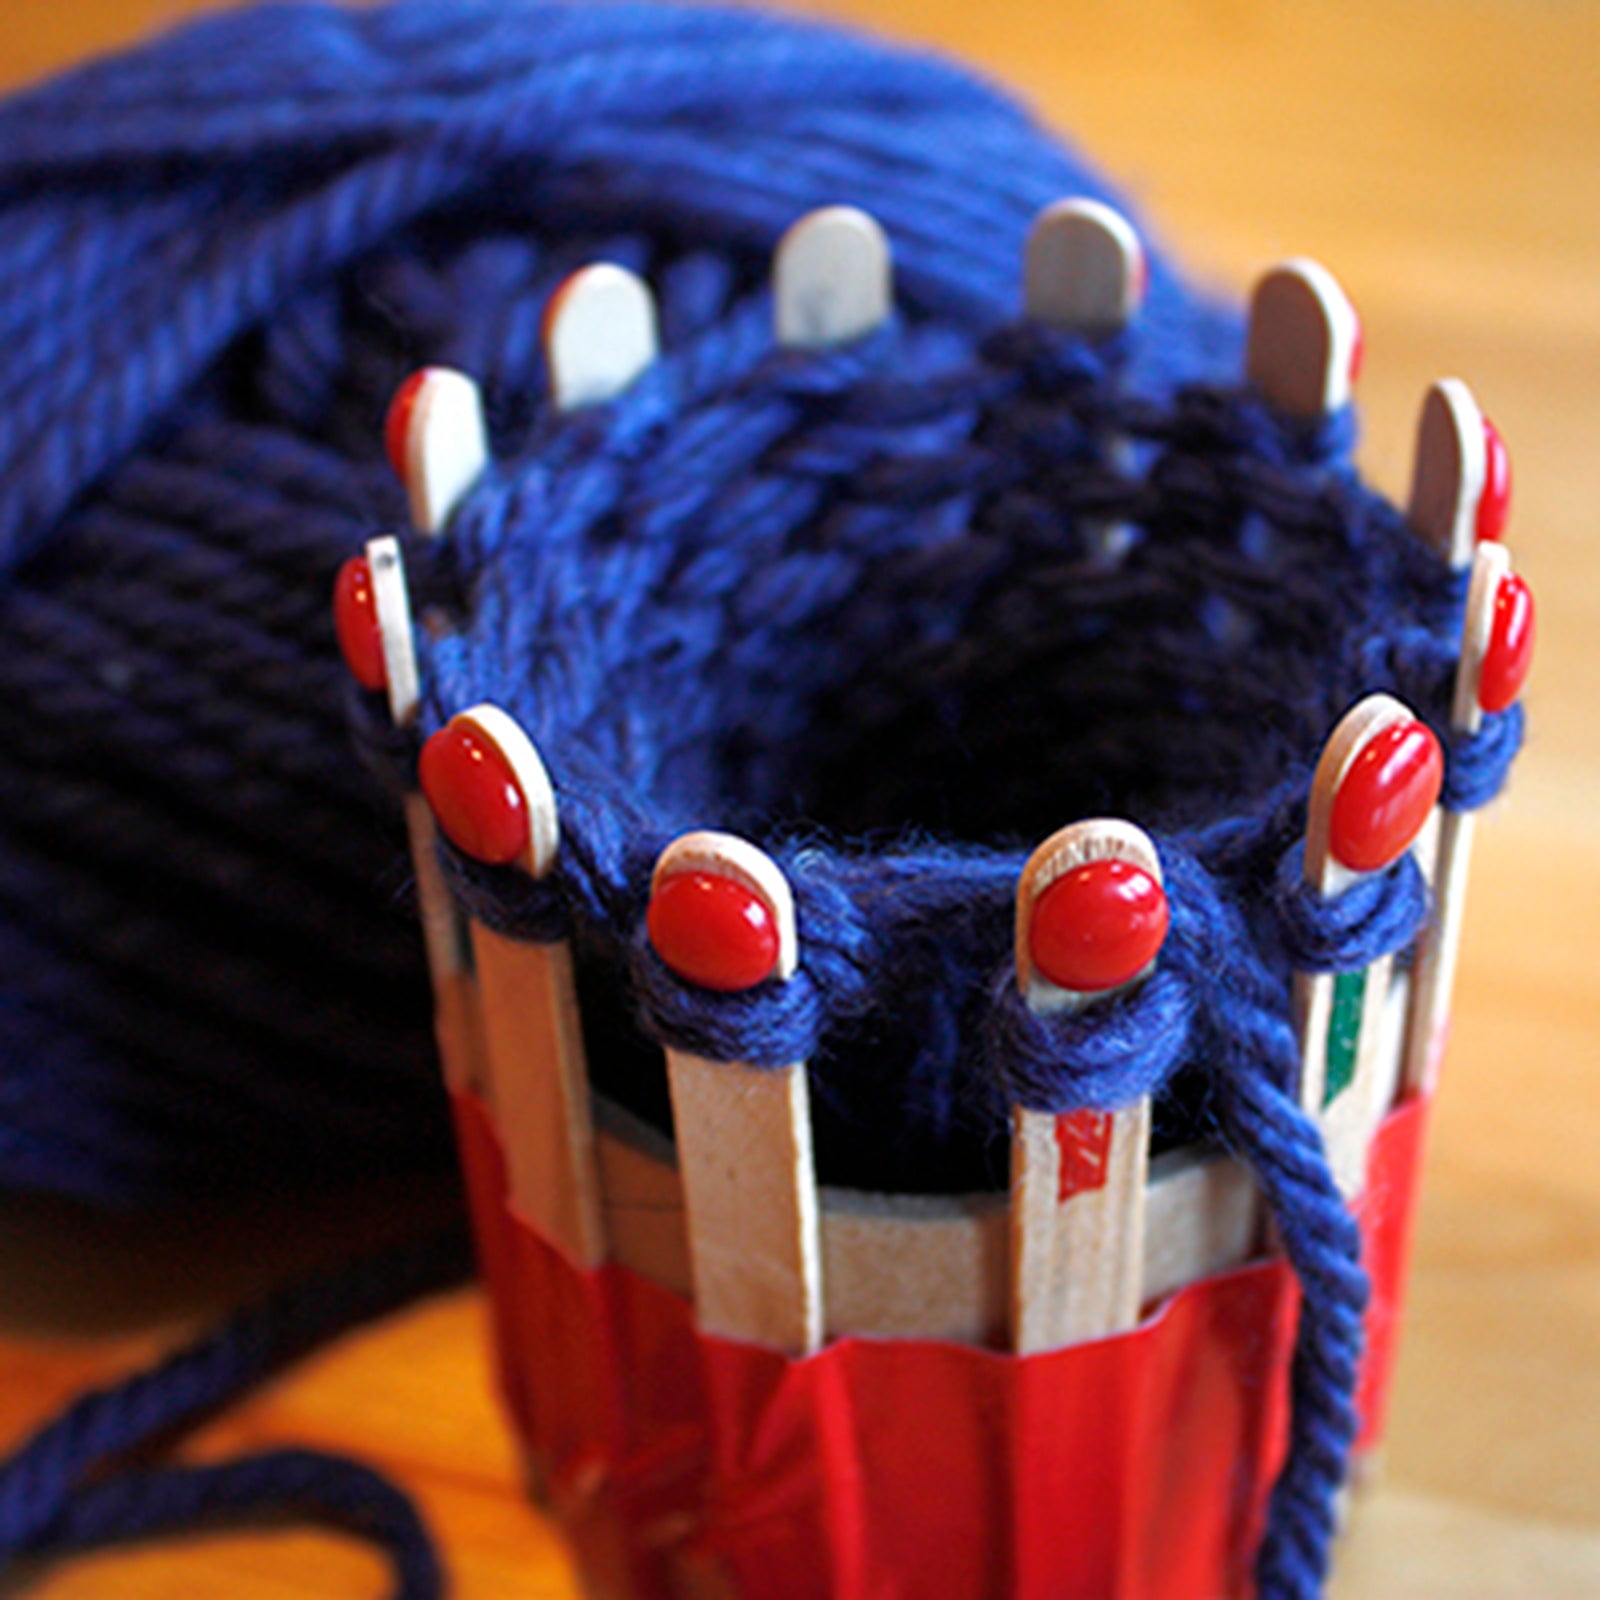
Start by laying your craft sticks out on a flat surface and adding one big drop of hot glue or sealing wax to the tip of one end of each stick. Let them cool.
These glue dots are essential because they prevent the yard from slipping off the end of each stick during the knitting process. When I first made these rings for students, they were very frustrated and had trouble completing projects because the yarn was always coming off. These dots made the difference!
Next, add a bit of craft glue to the end of each stick. Be sure to put it on the opposite side and opposite end from the glue dot!
Attach the sticks to the cardboard ring. Getting them spaced evenly can be a little tricky. I apply them opposite each other (across the ring) first, so there are two, then fourthen add the ones in between. You could also use hot glue for this part of the process, but I've found that craft glue is more forgiving, if you need to shift the sticks around a bit to improve their placement.
Let them dry.
Add some colorful duct tape for reinforcing bling.
Color one stick red and one green. These act as a start and stop point for the knitting and make things much clearer for the kids.
Now you're ready to knit! Start by attaching the end of your yarn (through the bottom) with a piece of tape or a paper clip, in between the red and green sticks.
Wrap the yarn and begin knitting. See this video tutorial for the basic, step-by-step process.
My daughter and students have made wrist warmers, coffee cozies, infinity scarves and sweaters for snakes. ;-) I'd love to hear from you about any other creations that can be made with these fun and easy rings.
Good stuff!

Loom Knit: Cast On Round Loom - eWrap Method, BEGINNER

Beginner Knitting Loom Adult Hat + Tutorial
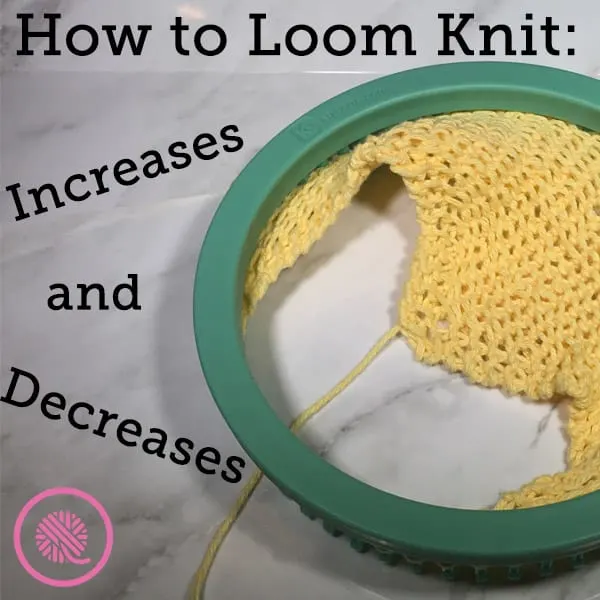
Loom Knit Increases and Decreases for Beginners

5 Ways to Knit on a Loom - wikiHow

Loom Knit Scarf on Any Loom for Beginners

novelinks Round Knitting Looms Set - Set of 5 Plastic Looms Knitting with 1 Knitting Yarn Loom Needle and 1 Plastic Loom Pick : Arts, Crafts & Sewing
The secret to super-easy knitting and creating simple, fun projects with ease! You can make hats with this easy-to-use loom even if you don't have any

Loops & Threads 3 Pack: Knit Quick™ Knitting Loom Set
Find 1 Set Round Knitting Loom Set With Needle Hook For DIY Knitting Sweater Hat Sewing Tool at Temu, part of our latest arts, crafts & sewing ready
1 Set Round Knitting Loom Set With Needle Hook For DIY Knitting Sweater Hat Sewing Tool

Almost Lost Washcloth – Free Knitting Pattern Review – Goddess Crochet

Easy & (Almost) Free Knitting Ring Loom

27 Free Loom Knitting Patterns for All Skill Levels - Sarah Maker
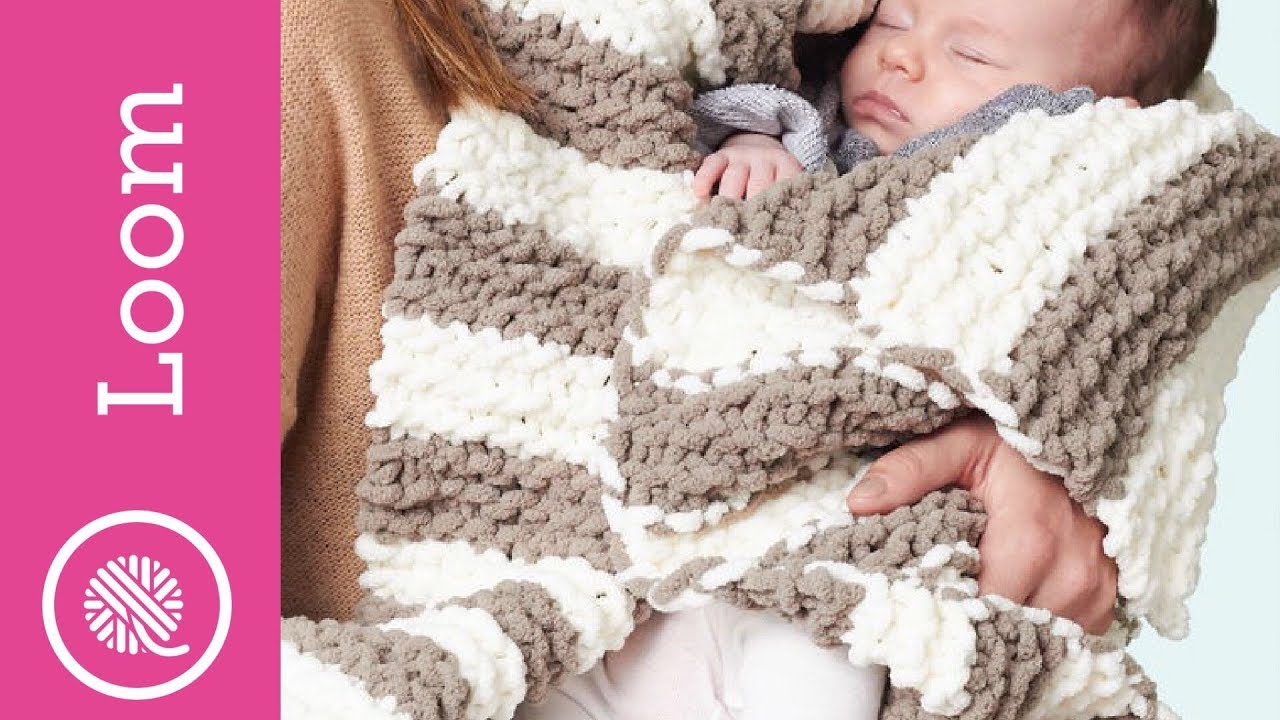
Loom Knit Garter Stitch Baby Blanket