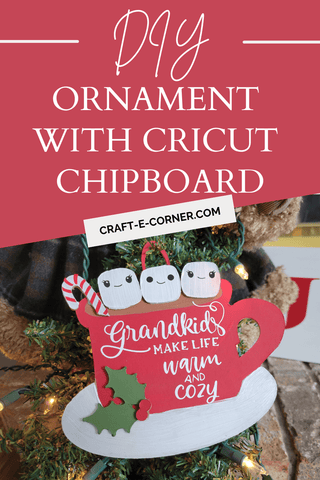
DIY Ornament with Cricut Chipboard
Chipboard is just another awesome material that the Cricut machines can cut! I used it to create this special ornament for a set of grandparents. I used the Cricut Maker 3 and Cricut Chipboard. After it was cut I painted and added vinyl to create this DIY hot cocoa grandkid ornament
In this video, I'll show you how to create a beautiful DIY ornament using Cricut chipboard. In Design Space, I designed my ornament. Then, I arranged the different vinyl colors on a white mat for efficient cutting. After loading the chipboard onto the mat and switching to the knife blade, I started the cutting process. Once cut, I painted the desired areas and switched back to the fine point blade for cutting the vinyl. With some glue gun magic, I assembled the ornament, resulting in a cute and personalized keepsake. Watch the full tutorial for step-by-step instructions.
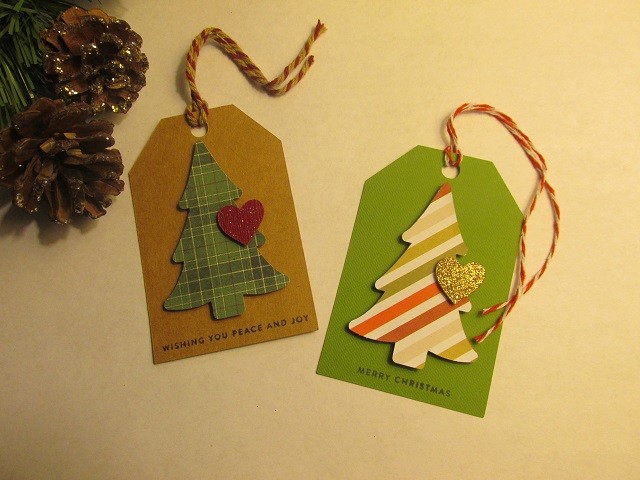
Christmas Gift Tags In Cricut Design Space - SAY IT WITH SIMPLICITY

Making the Christmas Ornament Box

DIY Hygge Ornaments and Free Pattern - The Kingston Home

Gift a personalized Christmas Ornament Made With the Cricut Maker - ToolBox Divas

DIY Pet Ornament with Cricut - Amy Latta Creations

Decorating Chipboard using Cricut Chip Decor Cartridge

Chipboard and vinyl elements with Cricut

DIY Reindeer Christmas Decoration Made With the Cricut Maker

3D Chipboard Tree with the Cricut Knife Blade and Cricut Maker

DIY Ornament with Cricut Chipboard

How to Make a DIY Ornament with Cricut Chipboard Tutorial
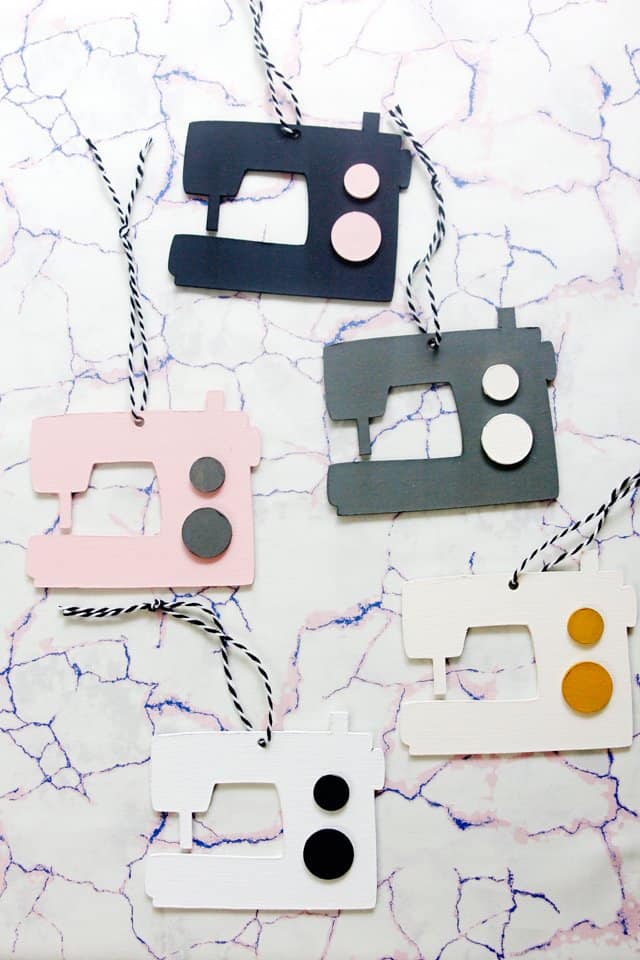
Sewing Machine Ornament with the Cricut Maker - see kate sew